
Well hello there! I hope everyone had a fabulous weekend! So many of you have asked me to do a tutorial on how I made my duvet cover. Silly girl that I am, I didn't take any photos while I was making the actual cover, but I will try to "re-create" the photos. This post is very picture heavy but I wanted to make sure it covered everything! This is the original photo I was inspired by.

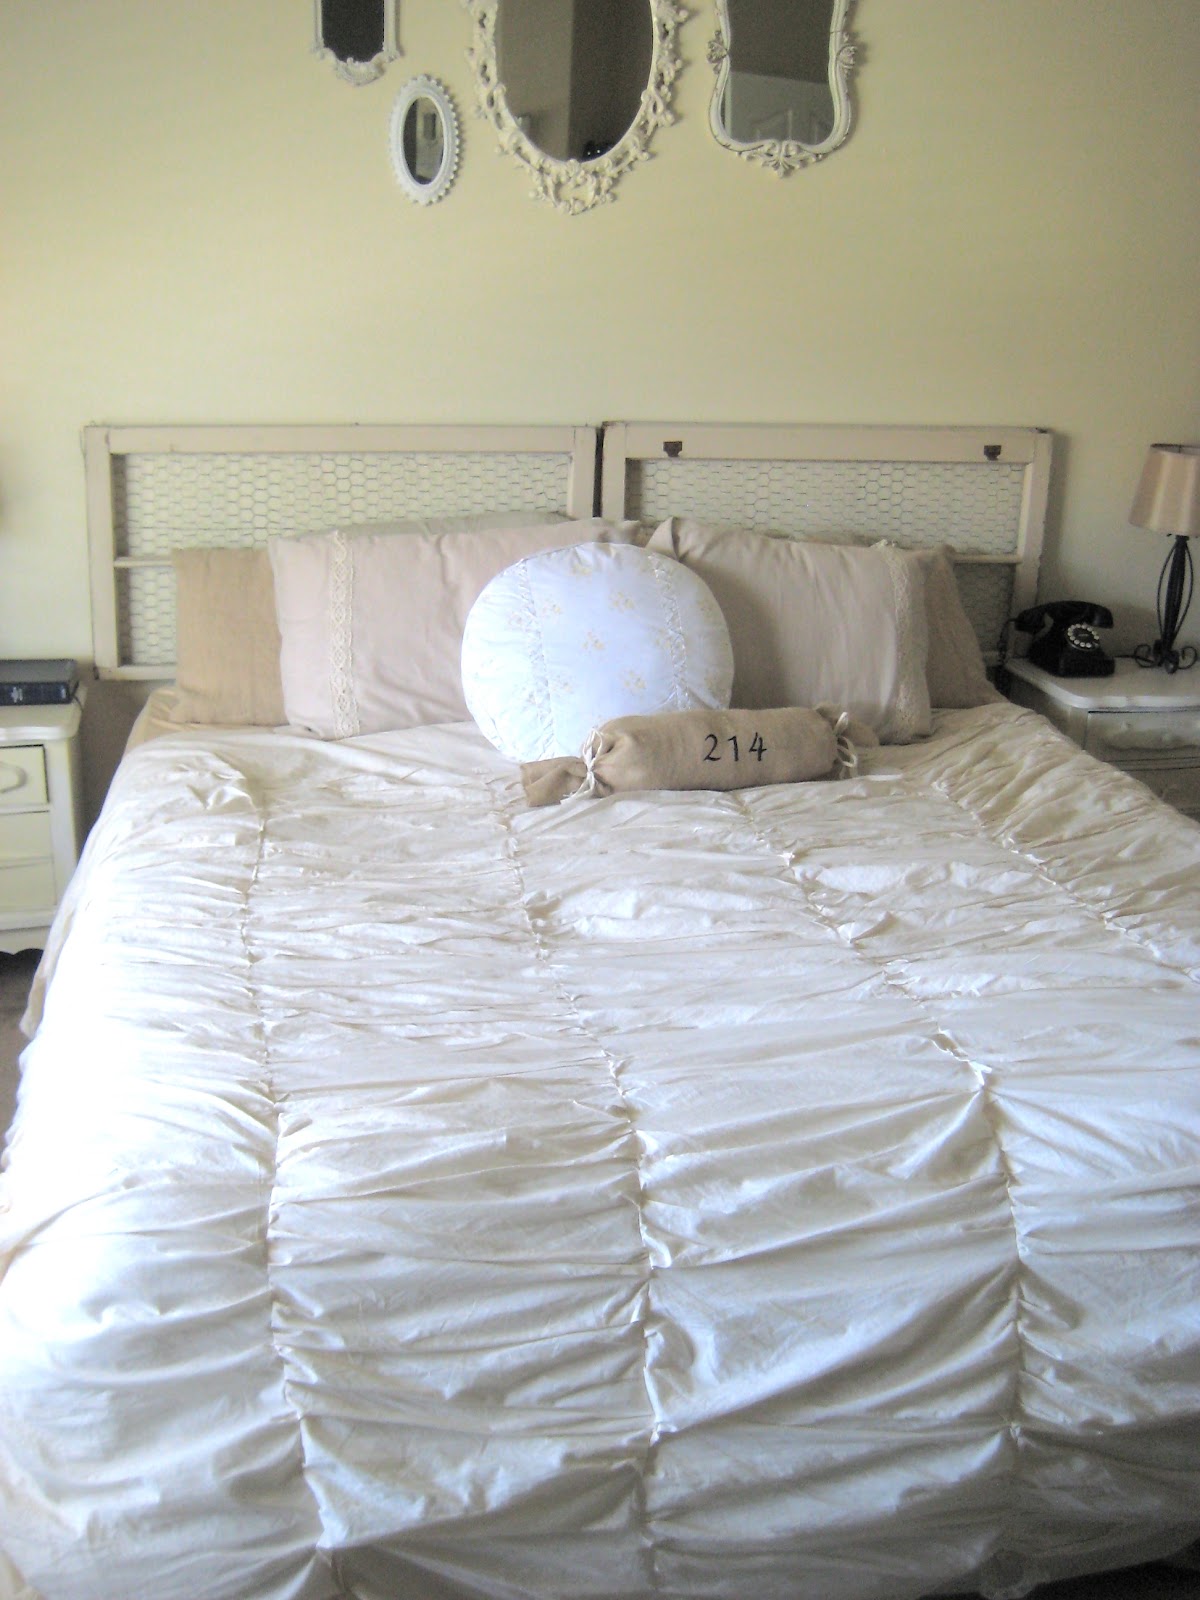
This little beauty from Pottery Barn came with a $250 price tag which I was not about to pay. So I headed on over to my local fabric store bought my own fabric and went from there. I bought 2 bolts of unbleached muslin (with coupons of course) and used 35 yards of that. This is what I came out with.

Supplies:
35 yards unbleached muslin (44in wide)
White Thread
Trim (for the ties at the end)
Trim (for the ties at the end)
A LOT of patience!
Start out by taking 20 yards of the muslin straight off the bolt (still folded in half). Take that 20 yards and lay it out as straight as possible then start cutting your muslin into 5 yard pieces. You should have four 5 yard pieces.


Take each piece, unfold it so it is no longer folded in half and tear or cut it straight up the middle at the crease so that each 5 yard piece is now 2 pieces. You should now have eight 5 yard pieces. (I really hope i am making sense!!)

Now comes the most time consuming part. You take each piece and ruch it with your sewing machine (pronounced roosh). This means you take the fabric and pinch it along the edge as you're sewing it.

Do that to both edges of every piece. You can pin each one if you'd like but I got the same result without pinning and it saved me some time :) Once each 5 yard section is finished you should have eight nicely ruched pieces.

Do that to both edges of every piece. You can pin each one if you'd like but I got the same result without pinning and it saved me some time :) Once each 5 yard section is finished you should have eight nicely ruched pieces.


You should now have the top piece of your duvet cover finished.

The next part should be a piece of cake now :) Take three pieces of muslin, wide enough to cover the width of the top and connect them together horizontally. This is the back of the cover.

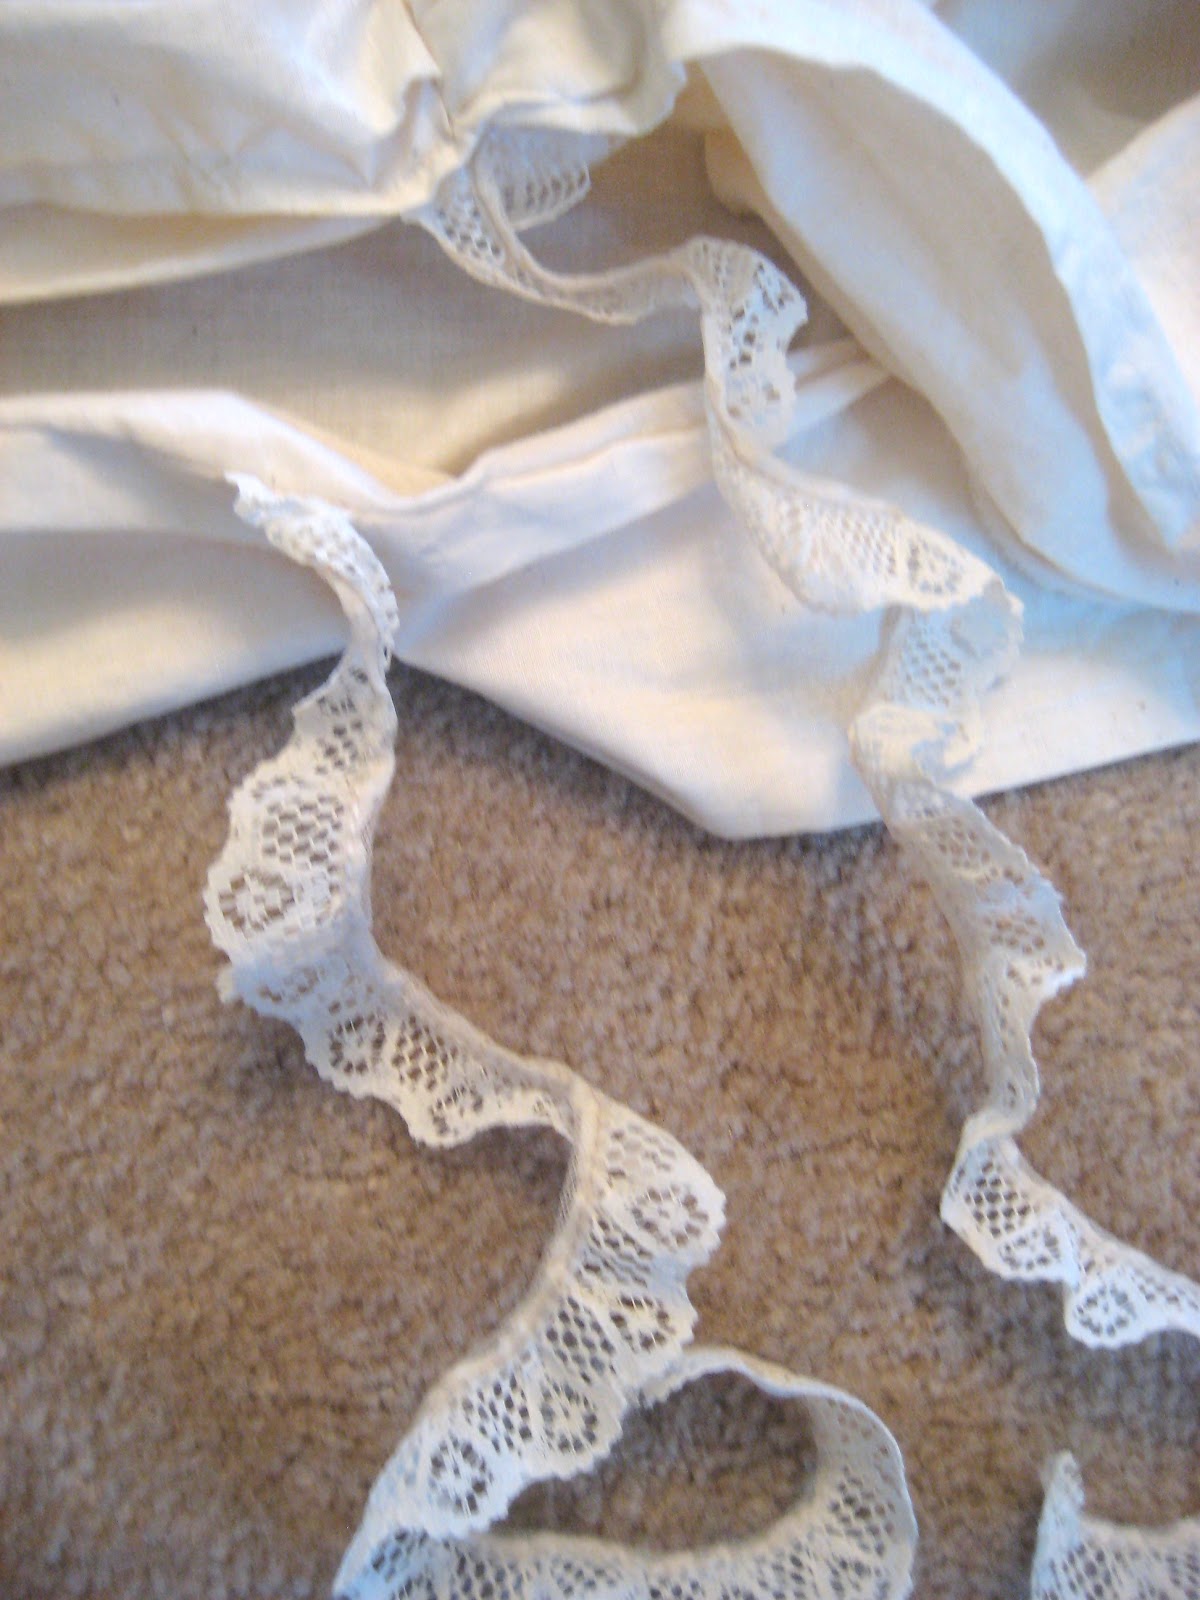
Once the back of the cover is in one piece, sew the two pieces together leaving an opening at the bottom. This is the part where you use your decorative trim. I chose a lace trim which I thought added a little elegance. Cut 12 strips long enough to be able to tie two together. These are going to be the ties at the bottom of the cover to enclose your comforter. Measure the distance you want between each tie, then sew six on the top and six on the bottom. It will end up looking like this...

Put your down comforter inside, tie up the bottom and voila!


The next part should be a piece of cake now :) Take three pieces of muslin, wide enough to cover the width of the top and connect them together horizontally. This is the back of the cover.

Once the back of the cover is in one piece, sew the two pieces together leaving an opening at the bottom. This is the part where you use your decorative trim. I chose a lace trim which I thought added a little elegance. Cut 12 strips long enough to be able to tie two together. These are going to be the ties at the bottom of the cover to enclose your comforter. Measure the distance you want between each tie, then sew six on the top and six on the bottom. It will end up looking like this...
Put your down comforter inside, tie up the bottom and voila!
Please feel free to contact me with any questions or help you may need. I tried to make this as understandable as possible but sometimes my directions don't always translate well! :) If you do not want to make your own, you can purchase one HERE! I hope you all have a great time crafting and making your home beautiful!
***EDIT: Ombre Ruffled Duvet Cover found here***

Holy Crow! This is gorgeous! What a fabulous job... you sure are putting my DIY's to shame.... I better get my act together!
ReplyDeleteXO
Tairalyn
Very nice. :) New follower from I love to craft. Would love to have you link this up to my {wow me} wednesday link up party going on over on my blog right now. The most viewed link will win a set of fancy rectangle chalkboard labels. This week I’m co-hosting with Reasons to Skip the Housework…so links will show up on both blogs! How fun!
ReplyDeleteGinger
gingersnapcrafts.blogspot.com
Wow what a great knock-off!
ReplyDeleteThat's very impressive. I've been working on a king size duvet for months so I know how time intensive it is. It's so big that that I only get it out every once in awhile, do a little bit & then put it away. I will get it done this summer though!
ReplyDeletebeautiful job! I love it!!
ReplyDeleteSimply fabulous!
ReplyDeleteI was so surprised by 35 yards. And then to ruffle it all, lots of work but it sure is pretty.
I made this for my guest room, and I love it! I wish that I could have had it in my master b-room, but my hubby and white don't exactly get along;o) I used king size sheets (for a queen bed) to make mine. You did a great job! Thanks for sharing!!
ReplyDeleteThis is amazing! I don't know if I have the patience to make something this big. I will have to pin it as a someday project :)
ReplyDeletegreat tutorial! this is amazing:)
ReplyDeletehttp://jaysonandashley.blogspot.com
This is so pretty! Great job on this! I want one for my room now! I would love for you to come and share this at my Fantastic Friday link party.
ReplyDeletehttp://ironvioletdesigns.blogspot.com
Thanks.
Fantastic! Thanks so much for posting this. I was overwhelmed by the thought of working out the fabric quantity. Its still a lot of work but I feel like its do-able now.
ReplyDeleteThanks again :)
AH-Mazing!!! I love the look - and the price!!
ReplyDeleteHow did you know that you had ruched it enough? Did you have a finished measurement - or is there kinda a standard ruching technique? Can you tell I don't know anything about ruching ;-)
PS - Thanks for joining the Train!!
This was featured on my blog today! Don't forget to stop by and pick up your button! Hope to see you back again this week!
ReplyDeletehttp://www.cherishedbliss.com/2011/06/craft-and-tell-no-11-and-features.html
This is great! I'm impressed!
ReplyDeletehttp://sweetteaserendipity.blogspot.com
Brilliant!
ReplyDeleteI love it!! You did an amazing job! Vanna
ReplyDeleteAmazing! I love it!
ReplyDeleteWow! I would never have been able to figure out how to knock off the original duvet but you did! Thanks for sharing how with the rest of us! I think I may try this in a year or two, after my bedroom is remodeled. :)
ReplyDeleteKristina, I am so envious of those that can sew and make something this beautiful! Thanks for joining my party and sharing your gorgeous duvet.
ReplyDeletexo,
Sherry
Wow-this is fantastic! I don't have a sewing machine yet but when I do I may be adventurous enough to try this. Thanks so much for linking up to last weeks Tutorial Tuesday. I hope you come back and link up again next week!
ReplyDeleteKari
Newlyweds on a Budget
www.morganandkari.com
This is just amazing thanks for sharing this information with us. The pics are really good and they give us all the detail we need.
ReplyDeleteking size duvet
wow! it's amazing! I don't have the patience that you have!
ReplyDeleteCongrats :))
Sara
Thanks for the tutorial, but I'm concerned about shrinkage. If you don't prewash your fabric, won't it shrink a lot in the wash? Have you already washed it and how has it held up?
ReplyDeletei was bad and didn't prewash my fabric! i have washed it a couple of times though and i'm glad to say no shrinking! it held up amazing in the wash too. i washed it on a cold cycle and dryed it on the delicate cycle.
ReplyDeleteLOVE this!! :)
ReplyDeleteGreat, thanks for letting me know!
ReplyDeleteI love your blog! Please follow me back at:
ReplyDeletewww.romanianprincess.com
XoXo Nicole Mariana
I've seen this around, but haven't commented yet, so here you go--awesome job--I love it!
ReplyDeleteOh my word. You totally just made my day! I had pinned this, but it was linked to an etsy. I tried to go to it again yesterday and it was gone! I searched all around at duvet covers and couldn't find one I liked as much. I didn't even know this was a knock off and the PB one that inspired you was just eh. I LOVE yours! Did you sell them on etsy for a bit? I'm kind of nervous to try something this big. Worried I'll screw up the ruching. ;) Thank you SO much! Ah. You are my favorite.
ReplyDeleteBreathtaking! My next project! Thanks for the tutorial.
ReplyDeleteThis is truly inspiring! I'm your newest follower-stop b y for a visit!
ReplyDeleteThis is beautiful! I couldn't begin to figure this out on my own without your tutorial! Lol... But you mention 35 yards of the unbleached muslin, however, you don't state the width of the fabric that you used. Also, I saw the link to the ombré version, how did you dye the fabric? Thanks for such a great tutorial!!! Love it!
ReplyDelete