Tuesday, June 28, 2011

Some Recent Home Changes


I've been doing some redecorating to my family room lately. I've really been wanting more of a farmhouse feel in my home but for some reason that room was lacking. I got some great topiaries at my good friend's yard sale at a killer price and some more old windows from another good friend! Here are some of the recent changes.


I made this little welcome banner from coffee filters and using my slice machine to cut out the scalloped circles.  Once it was all attached, I connected it to a burlap ruffle garland that I had made.  I like the way it looks right by my front door.  The vintage suitcase was $1 at my local Salvation Army.

I found the white hanging wall sconces at Ikea.  They are actually for planting, but no one will know :)
I'm loving the way it has turned out.  It feels a little more cozy. Always a good thing!

Here is the craft area that is on the other end of the room.  More pics can be seen HERE.

What rooms have you been redecorating lately?

Saturday, June 25, 2011

Let Them Eat Cake!

In a few previous posts I have ranted about how I LOVE Pinterest!  There is one thing however that drives me crazy!!! All of the food!  I have been on Weight Watchers for almost a month now and it is so hard for me to see all of this amazing looking food on Pinterest...the cakes especially! Lets drool over these cakes for a moment shall we?


source - ok...cakes in a jar??? heavenly!


I guess that I will just continue to look at these amazing goodies til my hearts content...darn Weight Watchers! :)

Wednesday, June 22, 2011

New in the Shop

I have been working on items for my etsy shop to add some new flair! I am proud to announce that they are now up. 

Aren't these so fun! They can be used as gift bags or favor bags.  

I have one in my bedroom in a vintage urn as a topiary! Looks beautiful.

So perfect for a bench or bed!
If you would like to purchase anything from my etsy shop, head on over before July 1st to receive free shipping!  Enter the promo code COZYHOME upon checkout! Enjoy!

Monday, June 20, 2011

Pottery Barn Inspired Duvet Cover Tutorial


Well hello there! I hope everyone had a fabulous weekend! So many of you have asked me to do a tutorial on how I made my duvet cover. Silly girl that I am, I didn't take any photos while I was making the actual cover, but I will try to "re-create" the photos. This post is very picture heavy but I wanted to make sure it covered everything! This is the original photo I was inspired by.


This little beauty from Pottery Barn came with a $250 price tag which I was not about to pay.  So I headed on over to my local fabric store bought my own fabric and went from there.  I bought 2 bolts of unbleached muslin (with coupons of course) and used 35 yards of that. This is what I came out with.

I have a king size bed so I will give you the supplies for that size and you can add or deduct from that.

Supplies:
35 yards unbleached muslin (44in wide)
White Thread
Trim (for the ties at the end)
A LOT of patience!

Start out by taking 20 yards of the muslin straight off the bolt (still folded in half).  Take that 20 yards and lay it out as straight as possible then start cutting your muslin into 5 yard pieces.  You should have four 5 yard pieces.

Take each piece, unfold it so it is no longer folded in half and tear or cut it straight up the middle at the crease so that each 5 yard piece is now 2 pieces.  You should now have eight 5 yard pieces. (I really hope i am making sense!!)

Now comes the most time consuming part.  You take each piece and ruch it with your sewing machine (pronounced roosh).  This means you take the fabric and pinch it along the edge as you're sewing it.


Do that to both edges of every piece.  You can pin each one if you'd like but I got the same result without pinning and it saved me some time :)  Once each 5 yard section is finished you should have eight nicely ruched pieces. 

Now it is time to connect them all! For this step I did go with pinning to make sure they stayed in place as I was sewing.  I pinned one section at a time.  Once that part was sewn on I pinned the next and so on.


You should now have the top piece of your duvet cover finished.


The next part should be a piece of cake now :)  Take three pieces of muslin, wide enough to cover the width of the top and connect them together horizontally.  This is the back of the cover.


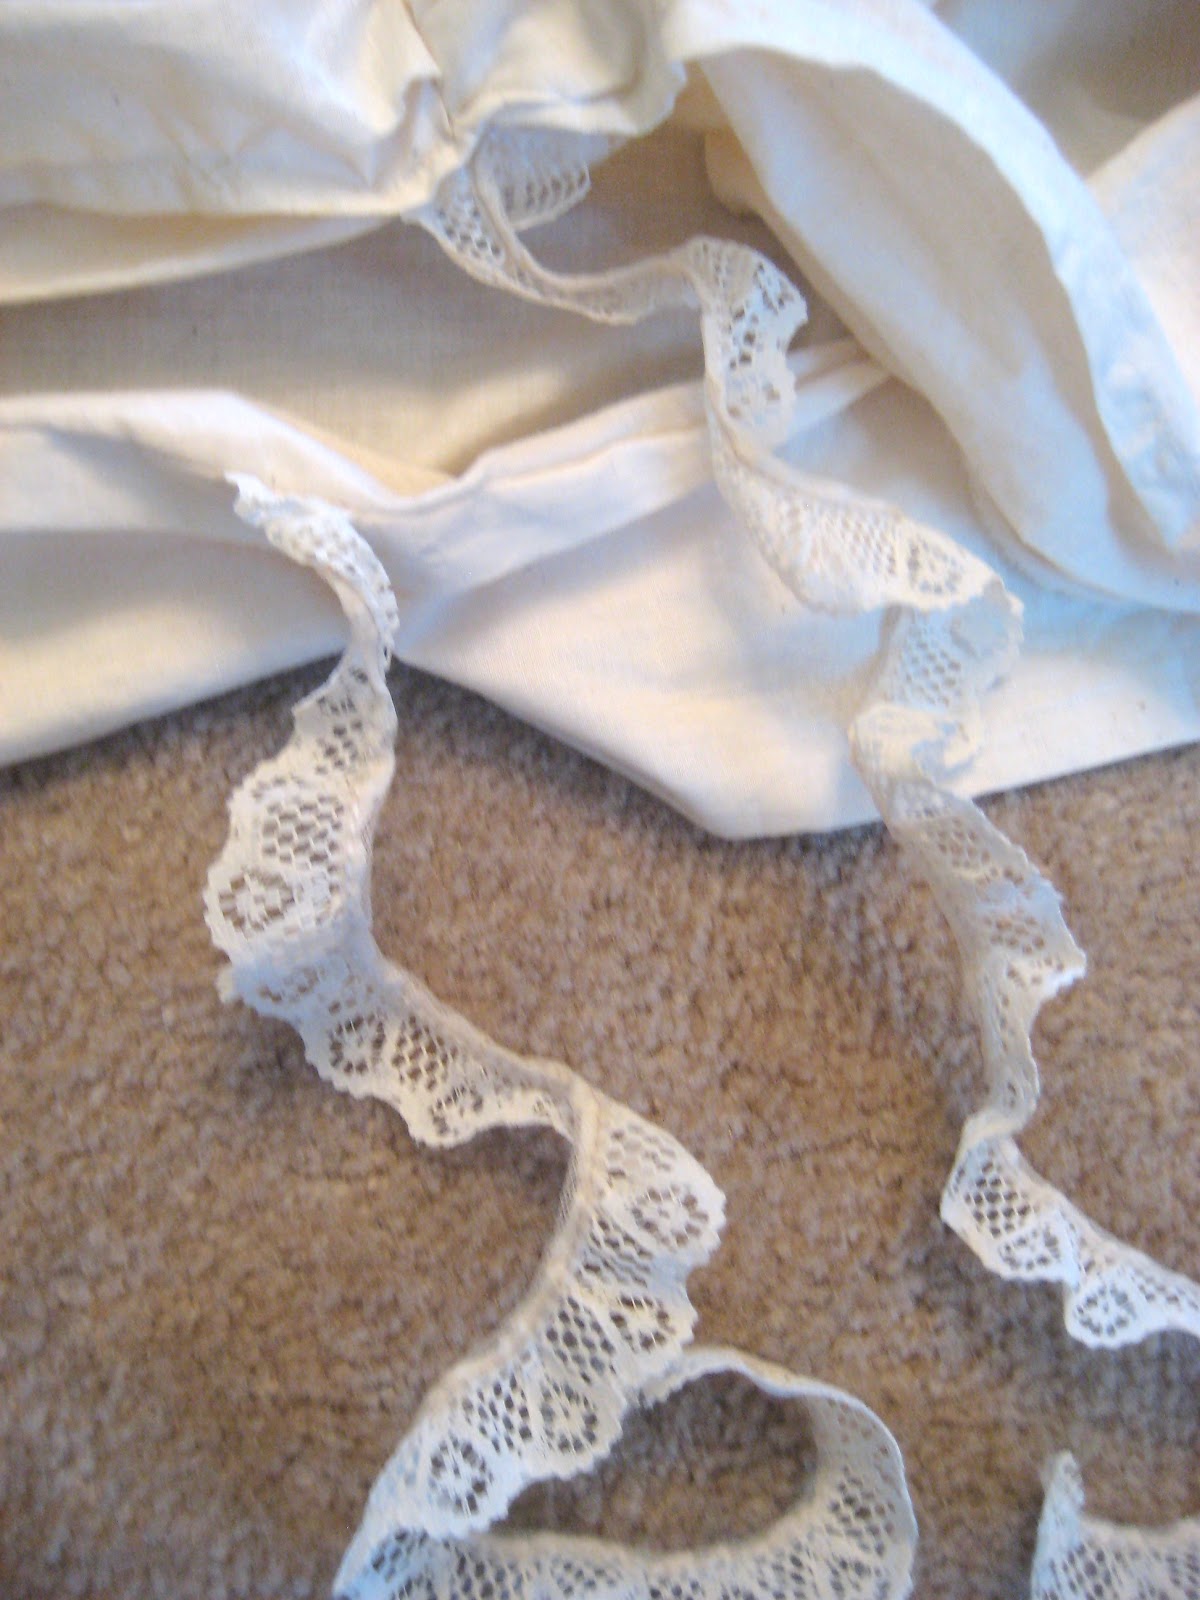
Once the back of the cover is in one piece, sew the two pieces together leaving an opening at the bottom.  This is the part where you use your decorative trim.  I chose a lace 
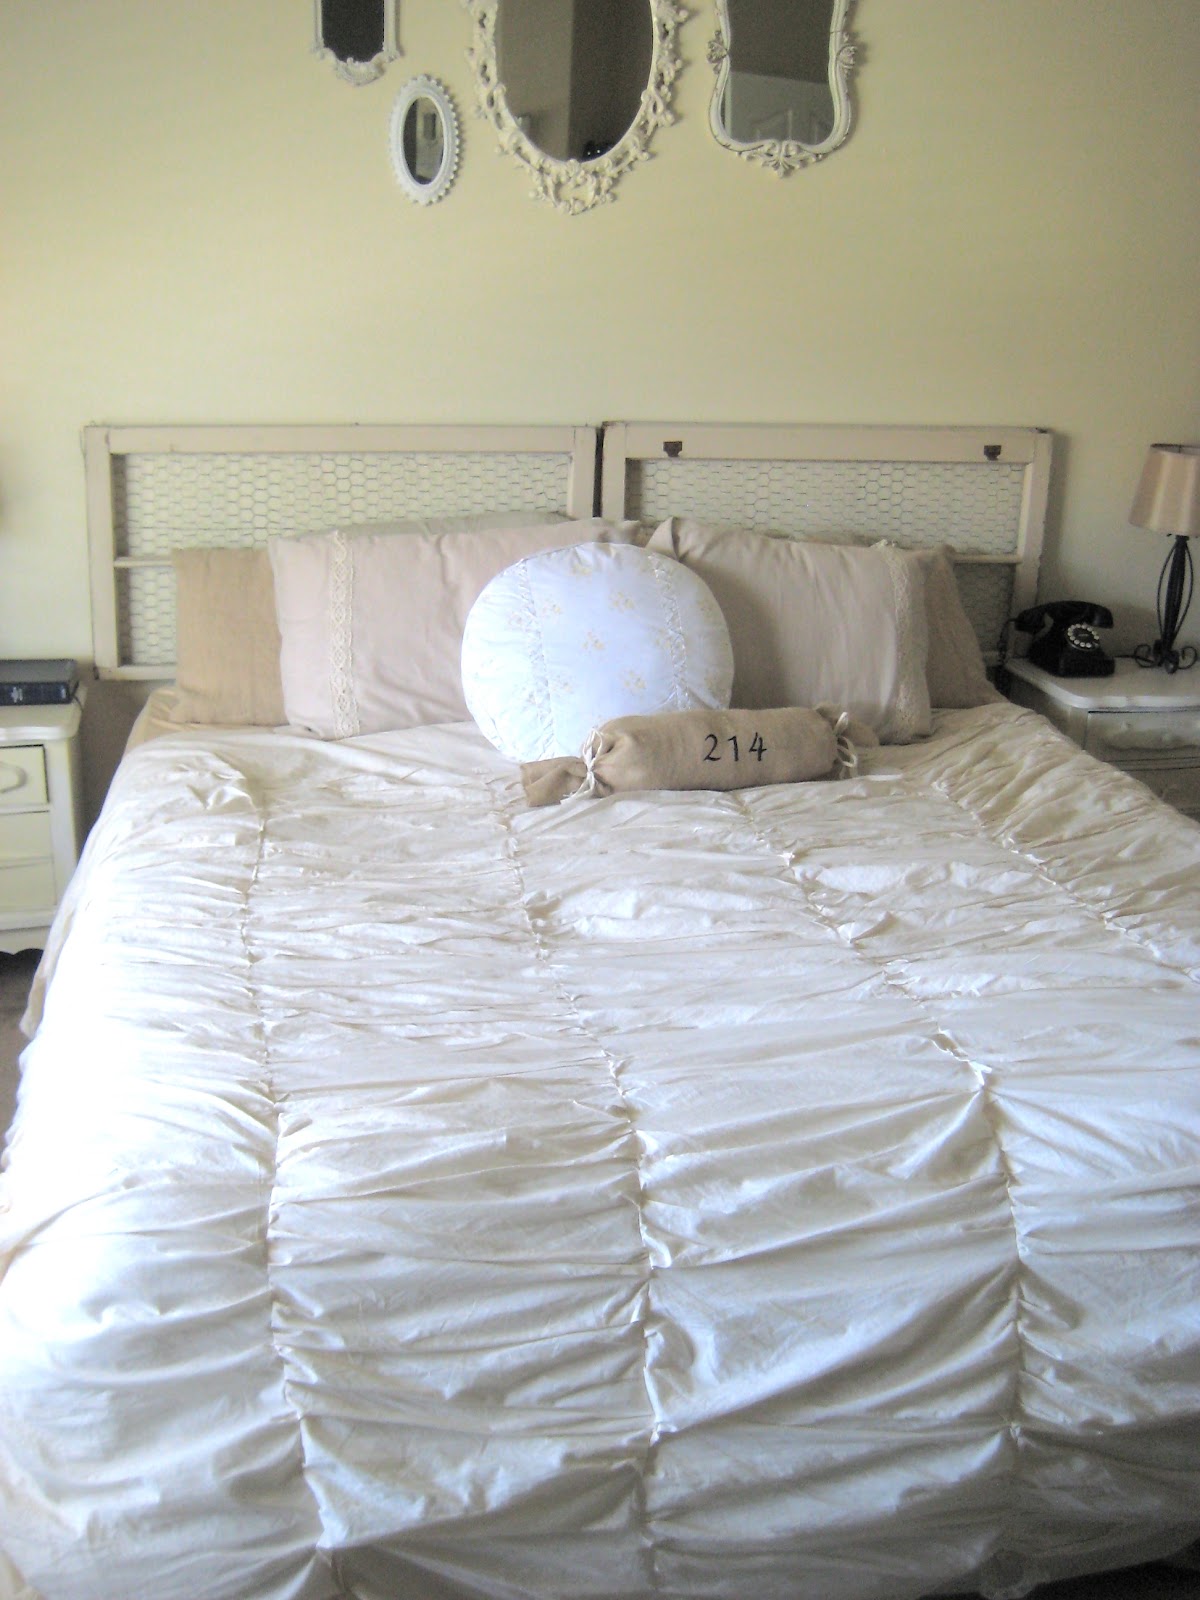
trim which I thought added a little elegance.  Cut 12 strips long enough to be able to tie two together.  These are going to be the ties at the bottom of the cover to enclose your comforter.  Measure the distance you want between each tie, then sew six on the top and six on the bottom.  It will end up looking like this...


Put your down comforter inside, tie up the bottom and voila!


Please feel free to contact me with any questions or help you may need.  I tried to make this as understandable as possible but sometimes my directions don't always translate well! :) If you do not want to make your own, you can purchase one HERE! I hope you all have a great time crafting and making your home beautiful!


***EDIT: Ombre Ruffled Duvet Cover found here***

Sunday, June 19, 2011

To the Amazing Father's Out There!

Hope you all have a wonderful Father's Day! You are greatly appreciated!

Monday, June 13, 2011

I Hopped on the Bandwagon

I have SO many pictures on my computer in an "inspiration" folder on my desktop.  It takes up so much room and it's hard to keep it organized.  I've been hearing about this magical place called Pinterest.  It's an online virtual pin board that you can "pin" any photos that you like on different boards that you create on your site.  The best part is...you can stalk follow people and see what they are pinning! :)  I am so addicted I can spend hours browsing at different DIY projects, home decor, nursery ideas, fashion...you name it!

Here are some of my favorite things that I have found on Pinterest:


The only catch is you have to have an invite to join!  If you are not on Pinterest and would like an invite, leave your email address and I will send you one :)If you're already on, find me on my board and we can share ideas!  

Hope to see you all pinning soon!

Makeover Monday #3


Saturday, June 11, 2011

Dreamy Whites $250 Store Credit Giveaway

One of my daily reads Dreamy Whites is having an unbelievable giveaway! She is offering one lucky reader a $250 online store gift card to her shop! Look at some of the amazing items she has...

http://2.bp.blogspot.com/-5O2xPHEncl0/Tex1mNLJ74I/AAAAAAAAFVs/k6apQFWMXn0/s1600/IMG_6953.jpg


http://2.bp.blogspot.com/_yK5GRjZrO1k/TUKAdmtrF2I/AAAAAAAAE4Y/cR4Jqdh5MvM/s1600/IMG_7693.jpg

http://2.bp.blogspot.com/_yK5GRjZrO1k/TD3PH71j9jI/AAAAAAAADXU/gLz4HDrAE-0/s1600/IMG_9852.jpg

Isn't her style amazing! So if you want to enter, head on over there before June 12 at midnight!

Thursday, June 9, 2011

Garden Fun

I LOVE to garden! There is just something about going out, planting a seed and watching it grow into something that you will eat! I love that it is organic and fresh and that Kaydence loves to garden with me.

I have 3- 4x4 garden boxes that go straight into the ground that house all of my vegetables.


My herbs are all housed in containers on my porch for easy clipping during dinner prep! :)


This is only my second year gardening but I'm hooked!  What do you have planted in your garden if you have one?

Tuesday, June 7, 2011

Vintage Drop Leaf Coffee Table

We haven't had a coffee table in a while and I've been wanting one bad! It had to be the perfect fit for my living room. I went to a local antique store and found this beautiful maple drop leaf coffee table. It didn't need to be painted but for my style I wanted to.  It was in perfect condition and very clean. Great price tag may I mention too!

Here she is waiting for her first coat of primer!


After priming I then used my go to spray paint, Rustoleum Painters Touch in Heirloom White, then distressed it a bit using a sanding block.  Here she now sits happily in my living room.


I distressed this piece a little heavier than I normally do but am happy with the final result.

The drop leaf is perfect for making the table larger if need be...say for crafting... :)


What piece have you found lately that you've been wanting?